- +86 180 5858 6702
- [email protected]
- Yongjiang Industrial Park, Ningbo, Zhejiang
This article provides a comprehensive step-by-step guide on how to securely install garage cabinets to the wall, ensuring a safe and functional storage system. As a leading garage cabinet manufacturing vendor, I bring extensive experience and expertise to this topic, offering valuable insights for Home Improvement Retailers, Industrial and Commercial Distributors, and our other target customers. This guide is worth reading because it covers everything from gathering the necessary tools and materials to the final touches of cabinet installation. By understanding the proper techniques for securing cabinets to the wall, you can confidently install or guide your customers through installing garage cabinets, ultimately enhancing customer satisfaction and driving sales. This is an ultimate guide to garage cabinet installation.
Proper installation of garage cabinets is crucial for safety, functionality, and longevity. Securely attaching cabinets to the wall prevents them from tipping over, which can cause damage to your belongings or, more seriously, result in injury. Cabinets should be installed properly. This is an important tip to remember.
Correct installation also ensures that your cabinets can bear the weight of the items you intend to store in them. Garage cabinets are often used to store heavy tools, equipment, and other items, so it’s essential that they are properly anchored to the wall studs. As a garage cabinet manufacturer, we emphasize the importance of following proper installation procedures to ensure the safety and satisfaction of our customers. Our cabinets are designed for secure installation, providing peace of mind and long-lasting performance. You can have cabinets that are secure.
Before installing garage cabinets, it’s essential to gather the necessary tools and materials. This will ensure a smooth and efficient installation process. Here’s a list of what you’ll typically need:
As a garage cabinet vendor, we provide detailed installation instructions and hardware kits with our products. Having the right tools and materials on hand before you begin will save you time and frustration during the installation process. Be sure to use the right materials required for the job.
Locating and marking the studs in the wall is a critical step in ensuring your garage cabinets are securely mounted. Studs provide the structural support needed to hold the weight of the cabinets and their contents. Use a stud finder to locate the studs behind the drywall or wall covering. This is an important tip for safety.
Once you’ve found a stud, mark its location with a pencil. Measure and mark the location of adjacent studs, which are typically spaced 16 or 24 inches apart. Use a level to draw a vertical line along the center of each stud, extending the lines to the height where the cabinets will be installed. These lines will serve as guides for attaching the cabinets to the wall. Always fasten to the studs. As a cabinet manufacturer, we emphasize the importance of anchoring cabinets to studs for maximum stability and safety.
Installing base cabinets is typically the first step in a garage cabinet installation. Begin by determining the desired height for your countertop or work surface, typically around 34-36 inches from the floor. Mark a level line on the wall at this height to guide the installation. Install the base cabinets first.
If you’re using a ledger board, attach it to the wall studs along the level line. The ledger will provide temporary support for the cabinets during installation. Position the base cabinets against the wall, aligning them with the stud marks. Use shims to level the cabinets if the floor is uneven. Once the cabinets are level and in position, attach them to the wall studs using screws. It’s crucial to fasten directly to the studs for strength. As a garage cabinet manufacturer, we provide detailed instructions and hardware to ensure a secure and straightforward installation.
Install the wall cabinets after the base cabinets are in place. Start by marking a level line on the wall to indicate the bottom of the wall cabinets. A common height is 54 inches from the floor, but you can adjust this based on your storage needs and ceiling height. This is important for installing garage cabinets.
If using a ledger board, attach it to the wall studs along the level line. Lift the wall cabinets onto the ledger (if used) and align them with the stud marks. Securely attach the cabinets to the wall studs using screws. As a cabinet manufacturer, we recommend using at least two screws per stud for each cabinet. Once the cabinets are secured, you can remove the ledger board. Cabinets must be secured to the wall.
A ledger board is a temporary support that is attached to the wall to help hold cabinets in place during installation. It’s particularly useful when installing wall cabinets, as it supports the weight of the cabinet while you fasten it to the studs. This makes cabinet installation easier.
To use a ledger board, mark a level line on the wall at the desired height for the bottom of the cabinets. Attach a straight piece of lumber (such as a 2×4) to the wall studs along this line. The ledger will then serve as a shelf to rest the cabinets on while you secure them to the wall. Once the cabinets are installed, the ledger board can be removed. As a garage cabinet manufacturer, we often recommend using a ledger board for easier and more accurate cabinet installation. You can use a ledger board for help.
Attaching adjacent cabinets together creates a unified and seamless look in your garage cabinet system. After securing individual cabinets to the wall, use clamps to hold the frames of adjacent cabinets together, ensuring they are flush and level. The cabinets should be installed tightly together.
Then, pre-drill and screw the frames together, typically near the top and bottom of the cabinet faces. This not only creates a cleaner appearance but also adds stability to the overall cabinet system. As a cabinet manufacturer, we design our cabinets for easy alignment and attachment, resulting in a professional-looking installation. This is how you connect adjacent cabinets.
Installing countertops and backsplashes on your garage cabinets adds both functionality and visual appeal to your workspace. Once your base cabinets are securely installed and attached to each other, measure and cut your countertop material to fit the length of the cabinet run. Countertops are a great addition.
Apply construction adhesive to the top of the cabinets and carefully place the countertop on top, ensuring it’s level and flush against the wall. Secure the countertop with screws from inside the cabinets. If you’re installing a backsplash, apply adhesive to the back and press it firmly against the wall above the countertop. As a garage cabinet manufacturer, we offer a range of countertop and backsplash options designed to complement our cabinet systems. Adding a backsplash is optional.
Optimizing your garage cabinet layout involves careful planning and consideration of your storage needs and workflow. Start by assessing the items you plan to store in your garage, and group similar items together. This will help you determine the type and size of cabinets you need.
Place frequently used items within easy reach, and store less frequently used items in higher or lower cabinets. Consider incorporating specialized storage solutions, such as a workbench area, pegboard for hanging tools, or tall cabinets for storing gardening gear or sporting equipment. As a garage cabinet manufacturer, we offer a wide range of cabinet configurations and accessories to help you create an optimized storage system tailored to your specific needs. Our Garage Storage Cabinets are designed to maximize space and functionality.
How do I find the studs in my garage wall? Use a stud finder to locate the studs in the wall. Electronic stud finders detect changes in density behind the wall surface, indicating the presence of a stud. Mark the location of each stud with a pencil.
What type of screws should I use to attach cabinets to the wall? Use coarse-threaded screws designed for cabinet installation, typically 2 1/2 to 3 inches long. Ensure the screws are long enough to penetrate the cabinet frame, the drywall, and at least 1 1/2 inches into the stud.
Can I attach cabinets to the wall without hitting studs? It’s strongly recommended to attach cabinets directly to studs for maximum support and safety. If you must attach a cabinet where there is no stud, use heavy-duty drywall anchors rated for the weight of the cabinet and its contents. However, this method is not as secure as screwing directly into studs.
Do I need a ledger board to install wall cabinets? A ledger board is not strictly necessary but can make installation much easier, especially for wall cabinets. It provides temporary support while you attach the cabinets to the wall.
How high should I install my garage cabinets? Base cabinets are typically installed 34.5 to 36 inches from the floor, while the bottom of wall cabinets are usually installed 54 to 72 inches from the floor. Adjust these heights based on your needs and ceiling height.
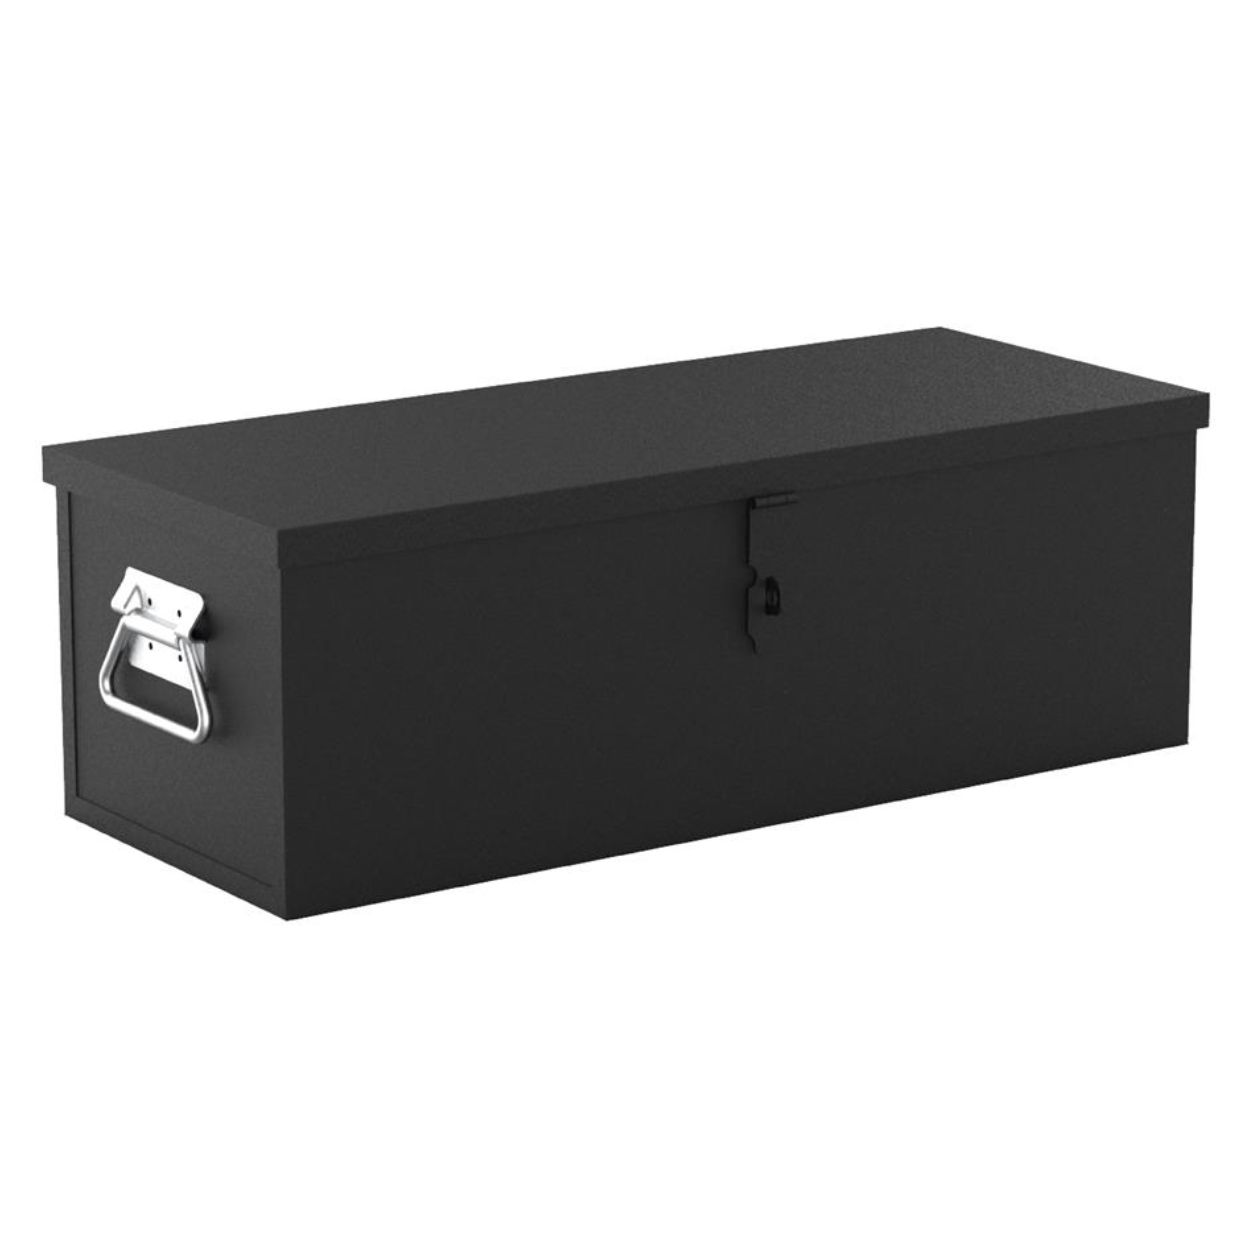
Why should I choose your company for my garage storage needs? As a leading garage cabinet manufacturer, we offer a wide range of high-quality, customizable storage solutions designed to meet the diverse needs of homeowners and professionals. Our cabinets are built to last, providing exceptional durability, functionality, and aesthetic appeal. We are committed to helping you create an organized, efficient, and visually appealing garage space that enhances the value and usability of your home. Our products, including Tool Chests, Tool Boxes, and OEM Tool Storage Products, are designed to meet diverse needs.
For more detailed information and to explore our extensive range of garage cabinets and storage solutions, visit our Tool Carts, Garage Storage Cabinets, and Workbenches.
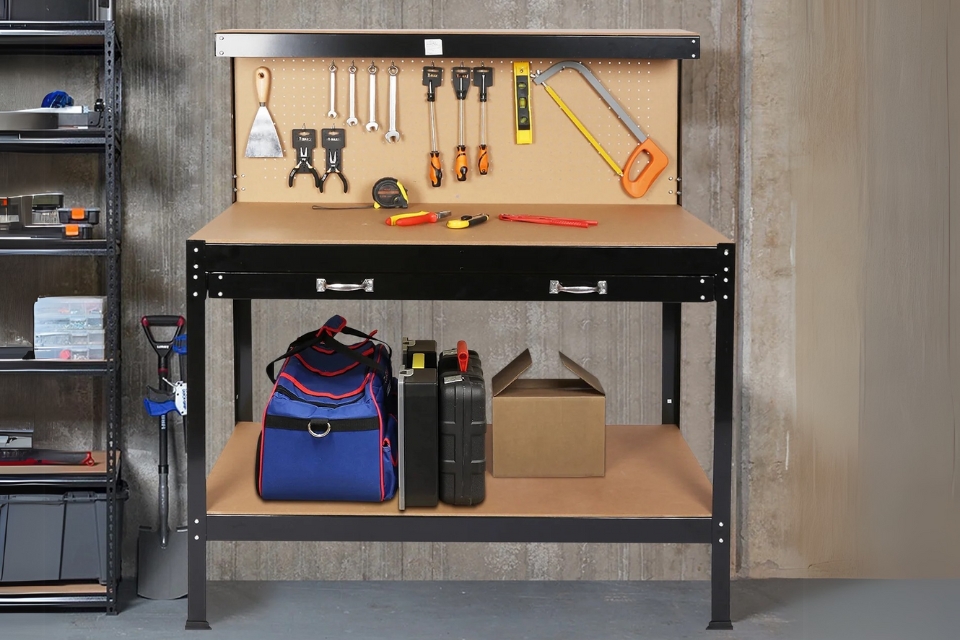
This article delves into the differences between workbenches and workstations, focusing on their applications within various industrial settings.
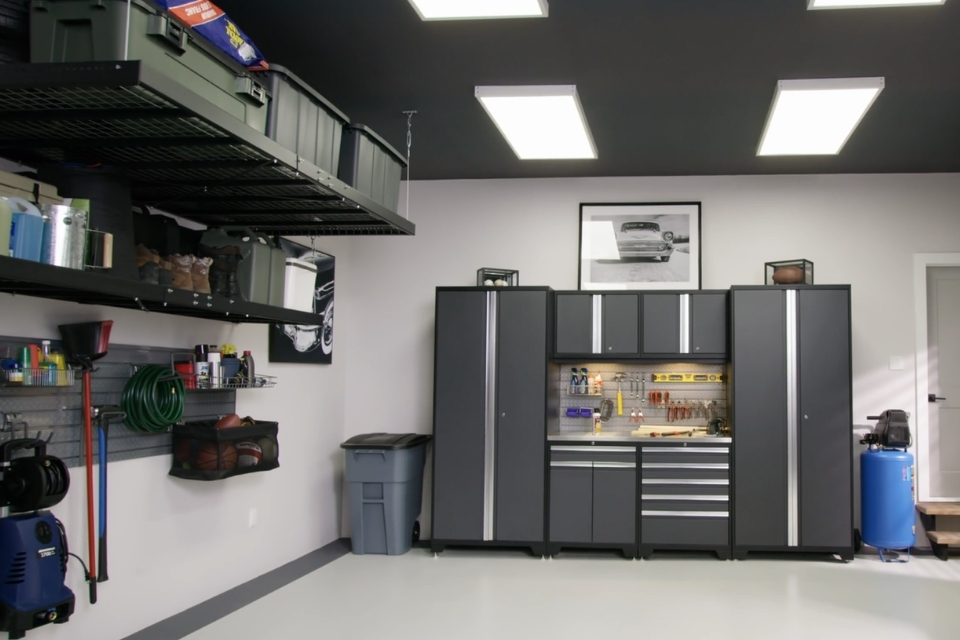
This article delves into the crucial question of whether garage cabinets need backs, exploring the structural and functional implications of this design choice.
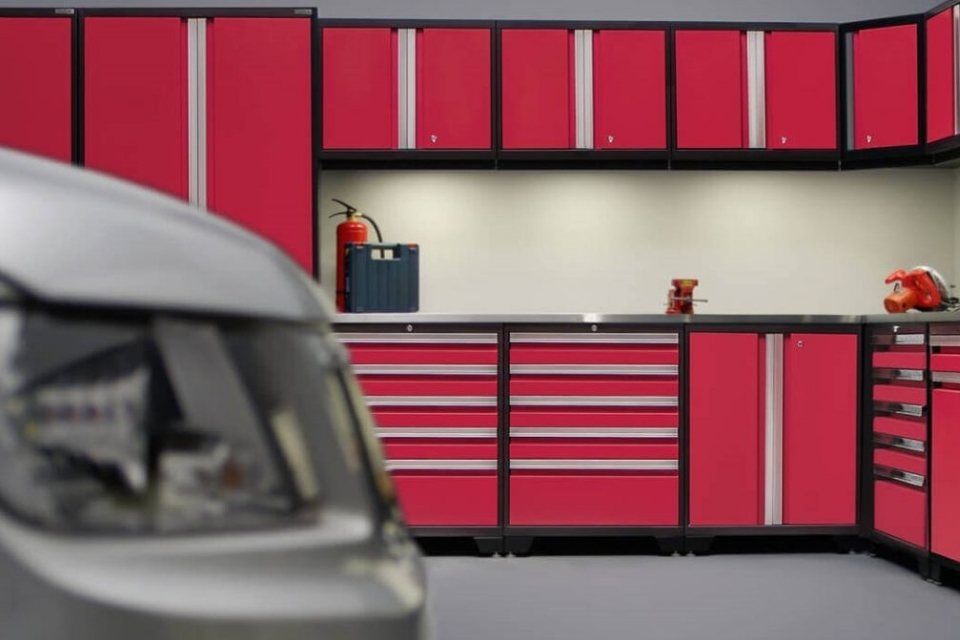
This article provides a comprehensive guide to designing an effective garage storage system, offering practical tips and innovative garage storage ideas to transform your cluttered garage into an organized and functional space.
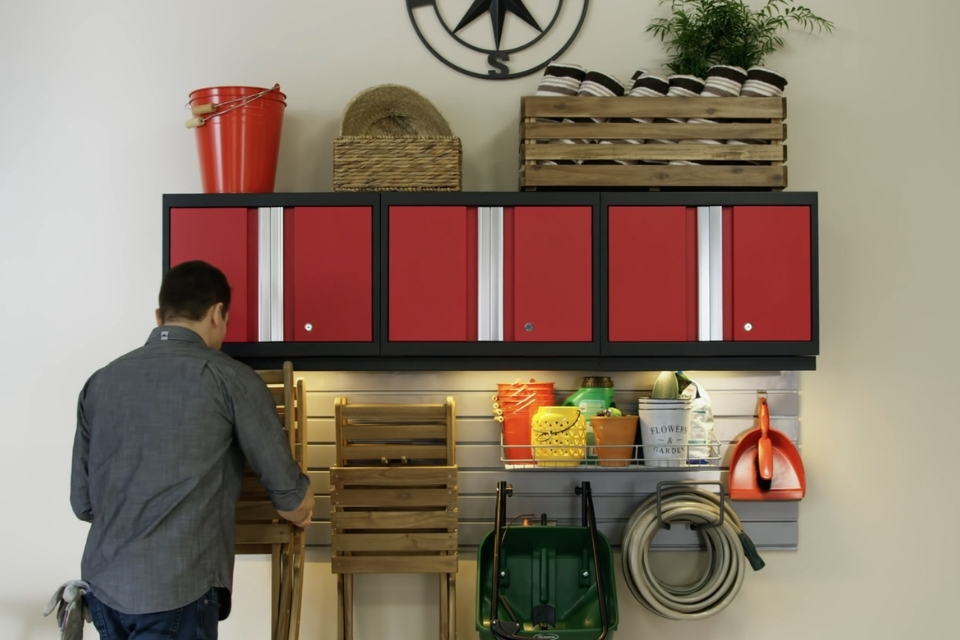
This article offers a comprehensive guide to tool box organization, providing practical tips and innovative organization ideas to help you arrange your tools efficiently.
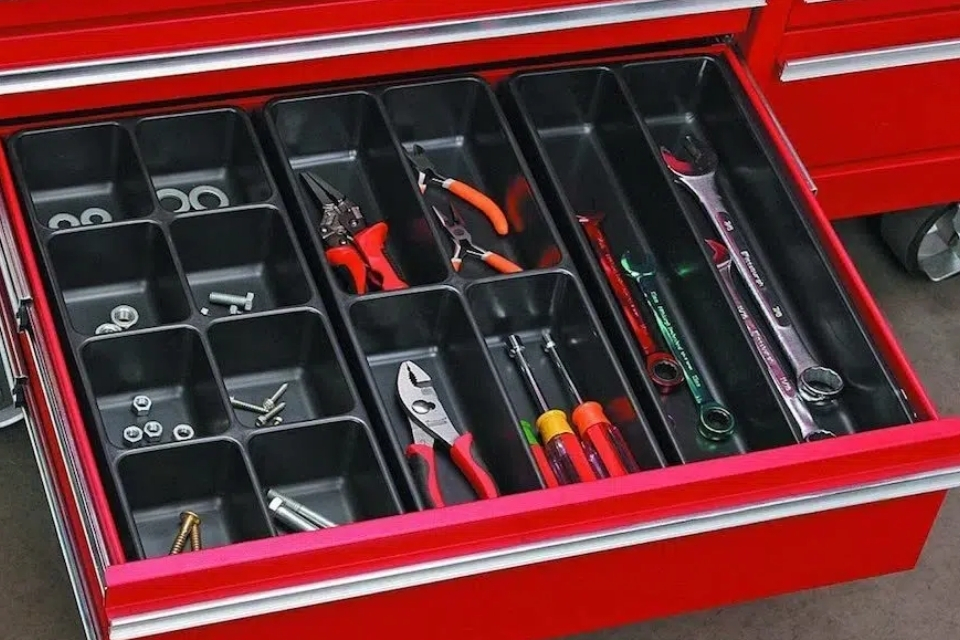
This article provides a comprehensive, step-by-step guide to installing a truck tool box, ensuring your tools are securely stored and easily accessible.
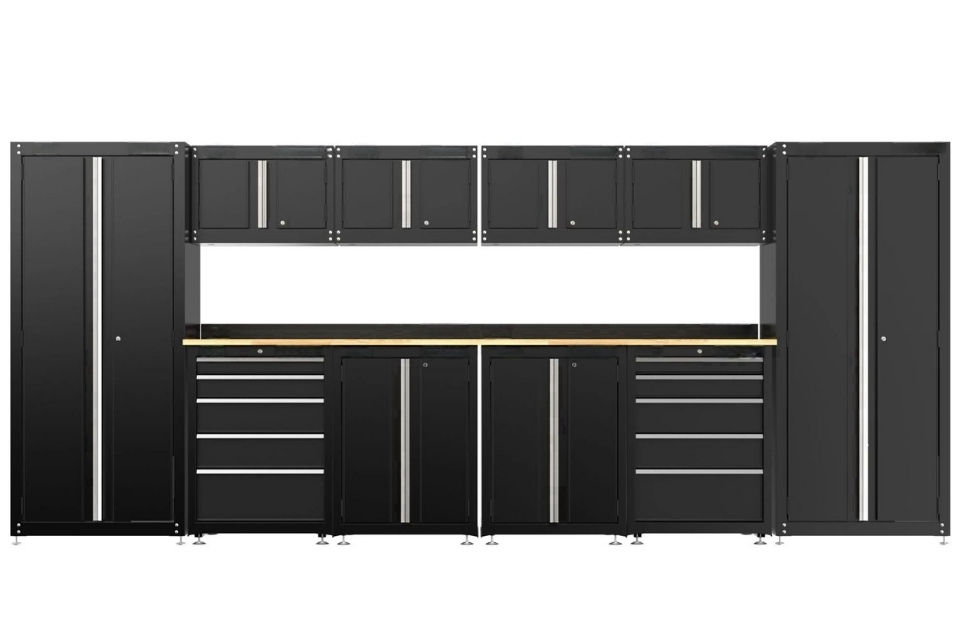
This article explores the various types of cabinet materials used for garage storage, helping you determine the best material for your garage cabinets.

This article delves into the reasons why metal garage cabinets are a popular choice for homeowners and professionals alike, examining the durability, functionality, and aesthetic appeal of this cabinet material.

This article explores the optimal depth for garage cabinets, a crucial factor in maximizing garage storage and functionality.

We are the leading factory for tool cabinets product in China with fast delivery, free custom services and fantastic services.
@ 2024 The Tool Cabinets. All right reserved.
Fill out the form below, and we will be in touch shortly.