- +86 180 5858 6702
- [email protected]
- Yongjiang Industrial Park, Ningbo, Zhejiang
This comprehensive guide provides a step-by-step approach to securely installing garage cabinets, transforming your garage space into an organized and functional area. As a leading manufacturer of garage cabinets, we understand the importance of proper cabinet installation to ensure safety, durability, and optimal storage. We’ll cover everything from choosing the right cabinet and locating stud to securing wall-mounted and base cabinet units. Whether you’re a seasoned professional or embarking on a rewarding DIY project, these expert tips will empower you to confidently install garage cabinets and create the well-organized garage you’ve always envisioned.
Proper garage cabinet installation is paramount for safety, functionality, and the longevity of your storage system. As a garage cabinets manufacturing plant, we emphasize secure installation because we know that improperly installed cabinets can pose serious risks. Cabinets that are not firmly attached to the wall can detach, causing damage to property and potentially injuring people.
Moreover, secure cabinet installation ensures that your storage system can effectively bear the weight of the items you plan to store. Cabinets that are not properly anchored may sag, warp, or even collapse under heavy loads. Finally, meticulous installation contributes to the overall aesthetics of your garage space, creating a neat, organized, and professional look. Following the proper steps to install garage cabinets is crucial.
Choosing the right garage cabinets is the foundation of a successful garage organization project. Begin by assessing your storage needs and the types of items you intend to store. Consider the size, weight, and frequency of use of your tools, equipment, and other belongings. Opting for wall cabinets is a great way to increase storage.
Next, evaluate the available space in your garage. Measure the dimensions of your garage walls and floor area, taking note of any windows, doors, or other obstructions. This will help you determine the size and configuration of the cabinets that will fit comfortably in your space and keep your garage functional.
Finally, consider your budget, aesthetic preferences, and the cabinet material. Garage cabinets come in various materials, including metal, wood, and plastic, each with its own advantages and disadvantages. As a manufacturer, we offer a wide range of garage cabinets to suit different needs and budgets, from heavy-duty metal cabinets for industrial use to stylish and well-organized modular systems for the home garage. Check out our garage storage cabinets to begin.
Gathering the necessary tools and materials before beginning the installation process is essential for a smooth and efficient project. Here’s a list of essential tools and materials you’ll likely need:
Having these tools and materials on hand will streamline the installation process and help you achieve a professional-looking result.
| Tool/Material | Purpose |
|---|---|
| Stud Finder | Locates studs in the wall for secure cabinet mounting |
| Measuring Tape | Measures distances, cabinet dimensions, and wall space |
| Level | Ensures cabinets are installed straight and level |
| Drill | Creates pilot holes for screws and anchors, assembles cabinet components |
| Drill Bits | Various sizes for drilling into different materials (wood, metal, drywall) |
| Screwdriver Set | Tightens screws, assembles cabinet parts |
| Socket Set | Tightens bolts, assembles cabinet parts (if applicable) |
| Hammer | Drives nails, may be used for tapping in anchors |
| Cabinet Screws/Bolts | Fasteners specifically designed for cabinet installation, appropriate for wall type and cabinet weight |
| Wall Anchors | Used when screws cannot be driven directly into studs, provides a secure hold in drywall or other materials |
| Safety Glasses | Protects eyes from debris |
| Gloves | Protects hands from splinters, sharp edges, and chemicals |
| Pencil | Marks stud locations, drill hole positions, and other measurements |
| Ladder/Step Stool | Provides safe access to higher areas for wall cabinet installation |
| Utility Knife | Opens boxes, cuts materials, scores drywall |
| Workbench | Provides a stable work surface for assembling cabinet components and working on tools |
| Clamps | Holds cabinet components together during assembly or installation, can be used to temporarily support wall cabinets |
| Caulk/Sealant | Seals gaps between cabinets and walls, provides a finished look |
| Touch-Up Paint | Repairs minor scratches or blemishes on cabinets |
| Pegboard | Optional: Provides additional tool storage and organization on or near cabinets |
| Pegboard Hooks | Optional: Used with pegboard to hang tools and accessories |
| Drawer Liners | Optional: Protects drawer bottoms and prevents tools from sliding around |
| Cabinet Hardware | Knobs, pulls, hinges (may be included with cabinets) |
| Base cabinet | Cabinets that are installed on the floor |
| Shims | Thin wedges of wood or plastic used to level cabinets on uneven floors or to align adjacent cabinets |
| Storage Bins | Optional: Used to organize small parts and accessories inside cabinets |
| Wall Cabinets | Cabinets that are attached to the wall, usually above the base cabinet |
| Drywall Saw | Used to cut holes in drywall for electrical outlets or other access points (if needed) |
| Laser Level | Optional: Projects a straight line on the wall for precise cabinet alignment, more advanced than a traditional level |
| Storage Hooks | Optional: Heavy-duty hooks that can be attached to walls or ceiling for storing large items like bikes, ladders, or lawn equipment |
Before you begin installing wall-mounted cabinets, it’s crucial to locate the stud in your garage walls. Cabinets should be securely anchored to stud to ensure they can support the weight of the cabinet and its contents. Use a stud finder to locate the stud, and mark their positions with a pencil. Most stud finder will find the edge of the studs.
Once you’ve identified the stud locations, use a measuring tape to determine the desired height and placement of your wall cabinets. Consider the height of your base cabinet if you’re installing a combination system. It’s also important to take into account the available space above and below the cabinets, as well as any windows, doors, or electrical outlets.
Mark the cabinet positions on the wall using a pencil and a level to ensure a secure and straight installation. If you’re installing multiple wall cabinets, ensure they are level with each other. If your garage walls are made of drywall and you cannot locate a stud, you’ll need to use appropriate wall anchor designed for heavy loads. We offer great garage storage options.
Installing wall-mounted cabinets is a manageable task if you follow these step-by-step instructions:
Installing base cabinets is typically easier than installing wall units, as they rest on the floor. However, ensuring a level work surface is crucial, especially if you plan to use the countertop for projects. Here’s how to install the base cabinets:
Securing cabinets together is essential for creating a stable and cohesive storage system, particularly when installing multiple wall cabinets or base cabinet units side by side. Here are some best practices for install the cabinets together:
By following these practices, you can create a solid and seamless cabinet system that maximizes your garage storage potential.
Adding finishing touches like a pegboard or workbench top can enhance the functionality and aesthetics of your garage cabinet system. A pegboard provides versatile storage for frequently used tools, keeping them organized and within easy reach. To install a pegboard, follow these steps:
To install a workbench top on your base cabinet, follow these steps:
These finishing touches can transform your garage cabinets into a highly functional and personalized workspace. You can also utilize tool storage to further organize your garage.
Proper maintenance and care will ensure your garage cabinets remain in good condition for years to come. Here are some tips for keeping your cabinets looking and functioning their best:
By following these simple maintenance and care tips, you can prolong the life of your garage cabinets and keep them looking their best.
Partnering with a reputable garage cabinet manufacturer like us can provide numerous benefits for your cabinet installation project. As a manufacturer, we have extensive knowledge and experience in designing, building, and installing garage cabinets. We can offer expert advice on choosing the right cabinets for your storage needs, customizing your storage system, and ensuring proper installation.
We also provide access to high-quality cabinets and accessories that are built to last. Our cabinets are constructed using durable materials and heavy-duty hardware, ensuring they can withstand the demands of a garage environment. We offer a wide range of styles, finishes, and configurations to suit different tastes and requirements. Check out our workbenches and tool chests as well.
Additionally, we can provide valuable support throughout the installation process. We offer detailed installation guides, video tutorials, and customer support to answer any questions you may have. By partnering with us, you can have confidence that your garage cabinet installation project will be a success, resulting in a functional, organized, and visually appealing garage space.
How do I secure a freestanding cabinet to the wall?
To secure a freestanding cabinet to the wall, you’ll need to locate the stud in the wall using a stud finder. Then, using appropriate screws or bolts, attach the cabinet to the stud through the back panel of the cabinet. If you cannot locate a stud, use heavy-duty wall anchor designed for the weight of the cabinet and its contents.
Can I install garage cabinets myself, or should I hire a professional?
Many homeowners can successfully install garage cabinets themselves, especially if they have some DIY experience and the necessary tools. However, if you’re not comfortable with the installation process or if you’re dealing with a complex cabinet system, it may be best to hire a professional.
How high should I hang my wall cabinets in the garage?
The height at which you hang your wall cabinets depends on your personal preference and the layout of your garage. A common guideline is to position the bottom of the wall cabinets 54-60 inches above the floor. This allows for ample headroom while keeping the cabinets within easy reach. If you have base cabinet with a countertop, you’ll typically want to allow 18-20 inches of clearance between the countertop and the bottom of the wall cabinets.
How do I level base cabinets on an uneven garage floor?
To level base cabinets on an uneven garage floor, use shims (thin wedges of wood or plastic) under the base cabinet until they are level. You can then secure the cabinets to the wall and to each other. If the floor is significantly sloped, you may need to build a level platform or adjust the cabinet legs, if applicable.
What is the best way to organize my garage cabinets?
The best way to organize your garage cabinets is to group similar items together and place frequently used items within easy reach. Utilize drawer dividers, bins, and labels to keep small tools and hardware organized. Consider adding a pegboard inside cabinet doors or on an adjacent wall for additional tool storage.
How do I clean and maintain my garage cabinets?
To clean and maintain your garage cabinets, regularly wipe them down with a soft cloth and a mild cleaner appropriate for the cabinet material. Avoid using abrasive cleaners or scrub brushes that could damage the finish. Inspect the hardware periodically and tighten any loose screws. Lubricate hinges and drawer slides as needed.
By following this comprehensive guide, you can confidently tackle your garage cabinet installation project and create the organized, functional garage space you’ve always wanted. As a leading manufacturer of garage cabinets, we are committed to providing our customers with the knowledge, tools, and products needed to transform their garages into efficient and visually appealing areas.
Whether you’re a home improvement retailer, an industrial distributor, a tool manufacturer, or a homeowner seeking to optimize your garage storage, we offer a wide range of cabinet solutions to meet your specific needs. Our experienced team can guide you through the selection process, helping you choose the right cabinets, storage system, and accessories for your project.
Don’t let a cluttered and disorganized garage hold you back any longer. Contact us today to explore our extensive range of garage cabinets and discover how we can help you create the ultimate garage organization solution. Together, we can unlock the full potential of your garage space and make your vision a reality!
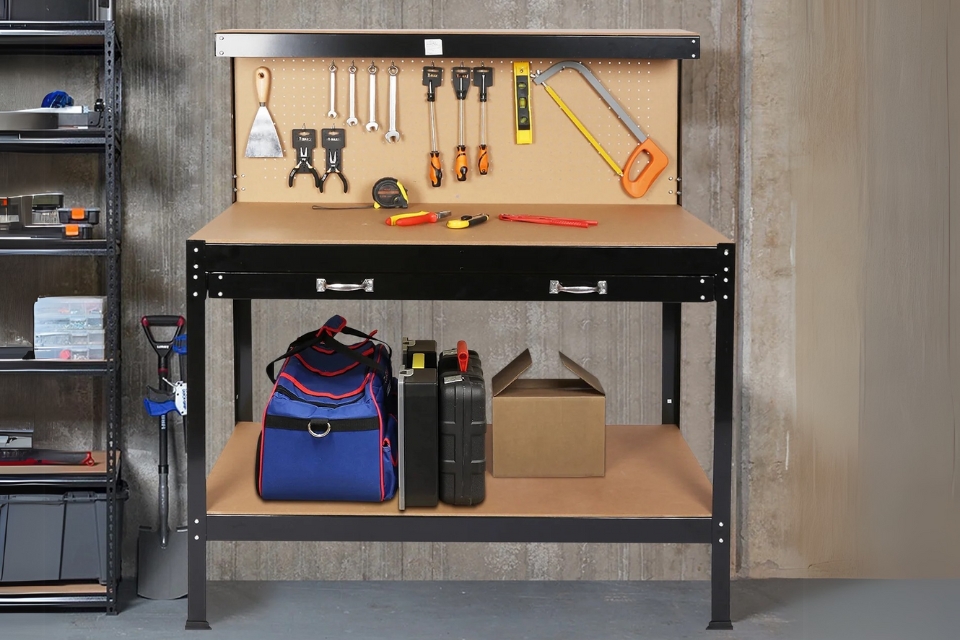
This article delves into the differences between workbenches and workstations, focusing on their applications within various industrial settings.
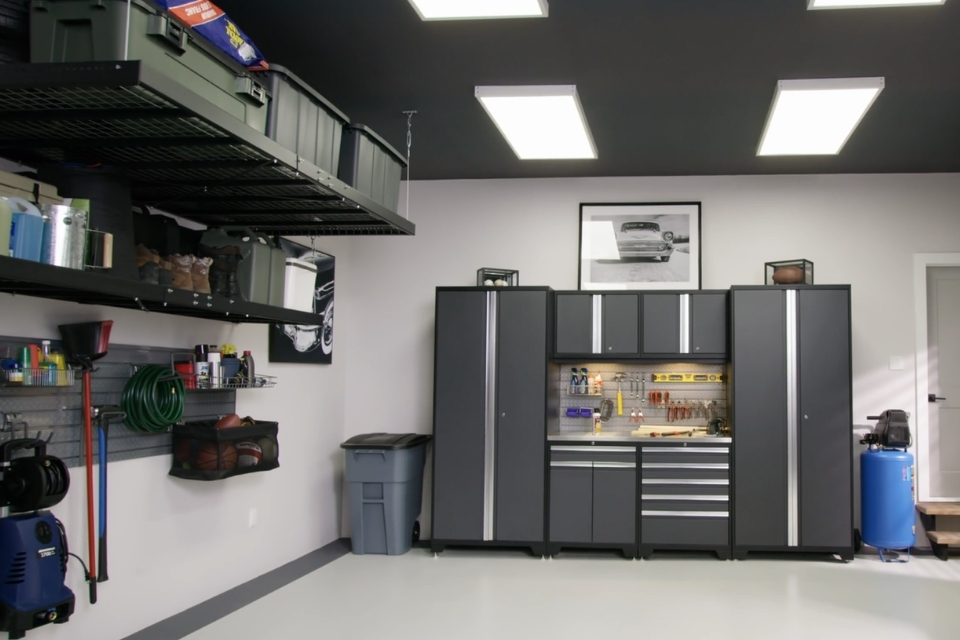
This article delves into the crucial question of whether garage cabinets need backs, exploring the structural and functional implications of this design choice.
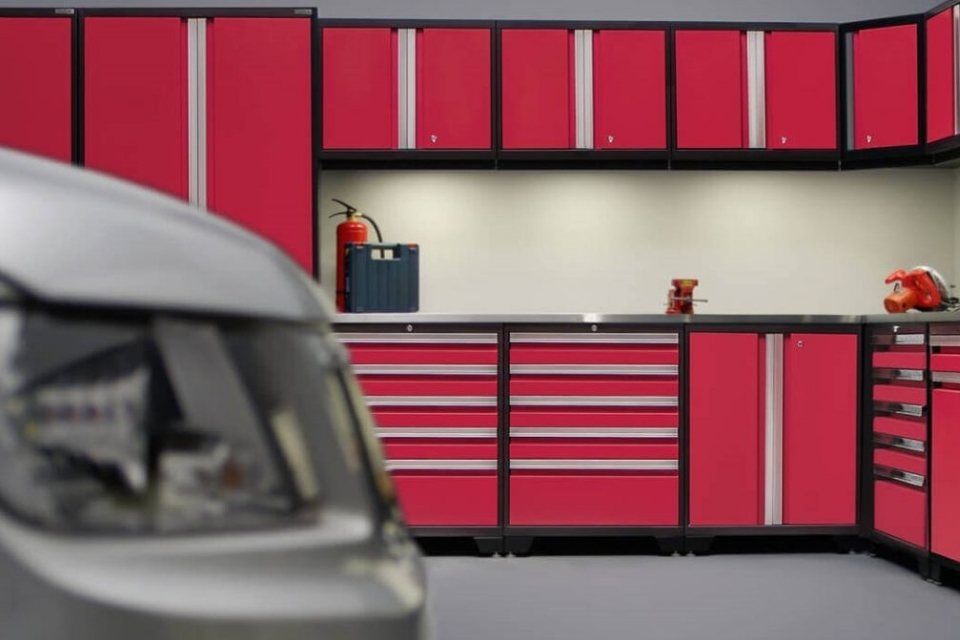
This article provides a comprehensive guide to designing an effective garage storage system, offering practical tips and innovative garage storage ideas to transform your cluttered garage into an organized and functional space.
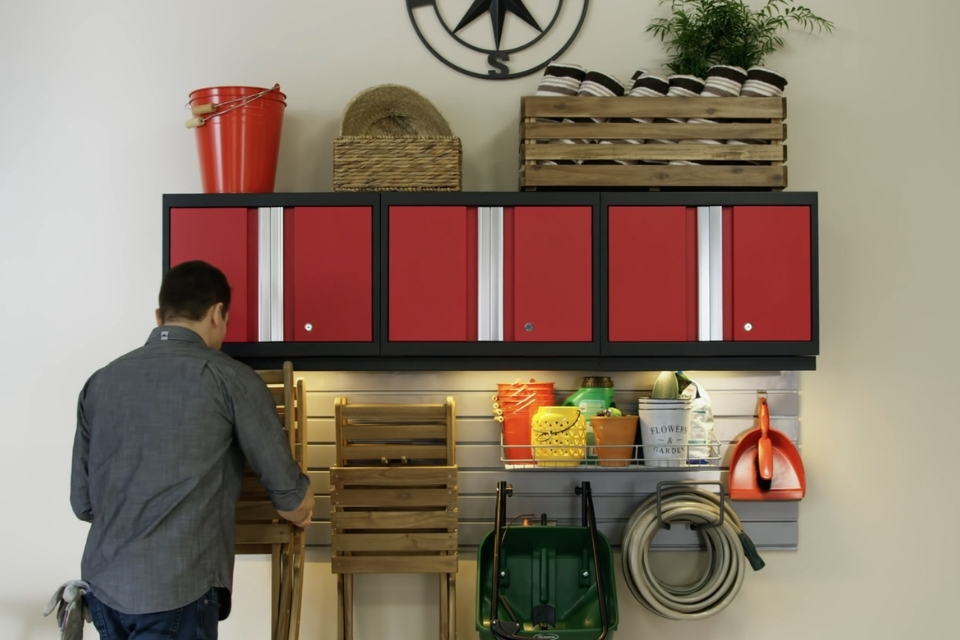
This article offers a comprehensive guide to tool box organization, providing practical tips and innovative organization ideas to help you arrange your tools efficiently.
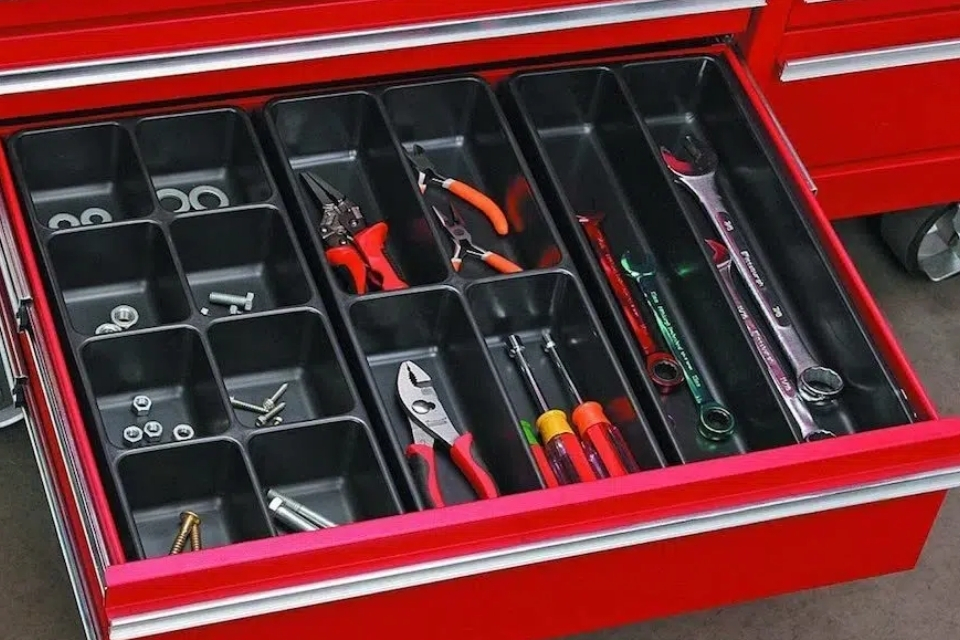
This article provides a comprehensive, step-by-step guide to installing a truck tool box, ensuring your tools are securely stored and easily accessible.
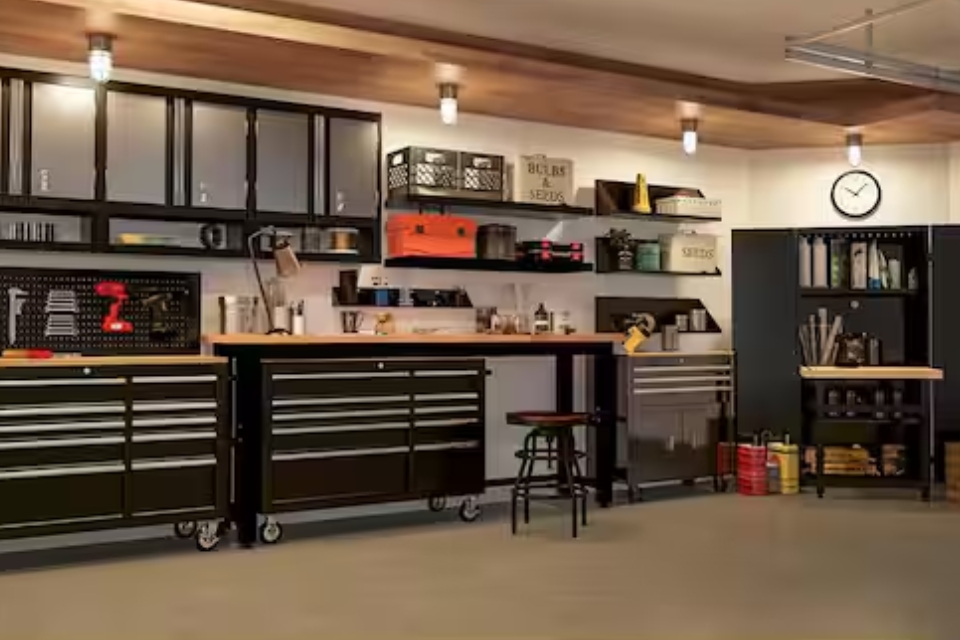
This article delves into the critical aspect of workbench height and explores whether the common recommendation of “just below elbow height” is truly the optimal setup.
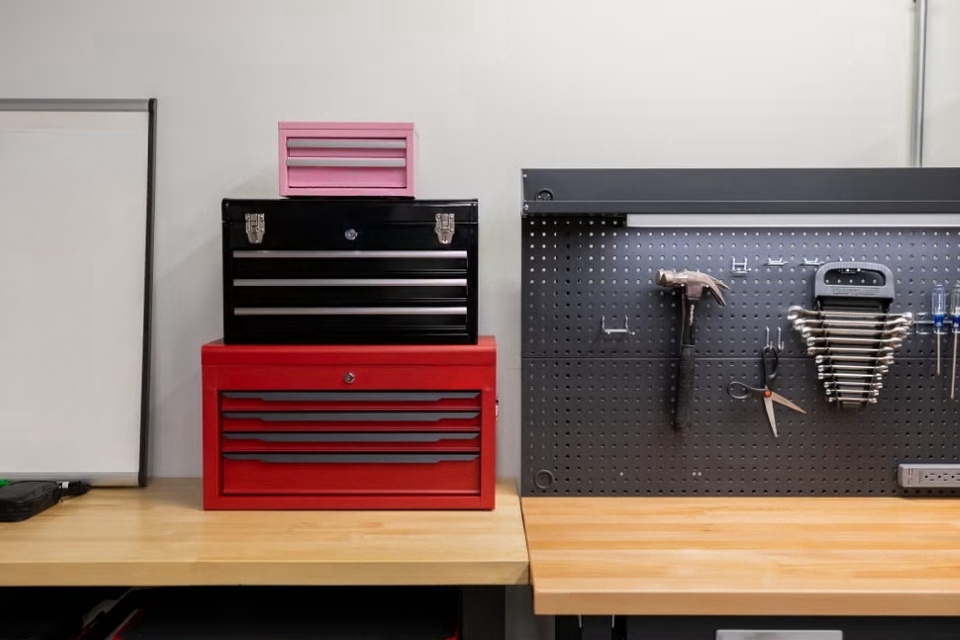
This article provides comprehensive guidance on organizing your tool box effectively.
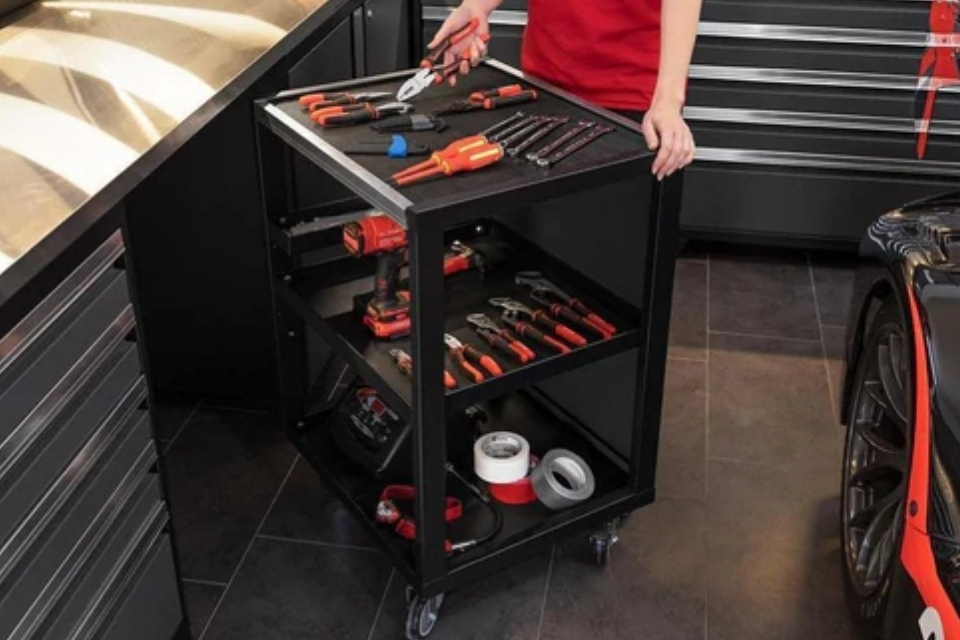
This article explores the crucial factors to consider when determining the right size tool chest for your needs.

We are the leading factory for tool cabinets product in China with fast delivery, free custom services and fantastic services.
@ 2024 The Tool Cabinets. All right reserved.
Fill out the form below, and we will be in touch shortly.