- +86 180 5858 6702
- [email protected]
- Yongjiang Industrial Park, Ningbo, Zhejiang
This article dives into the rewarding world of DIY tool storage cabinets, a project that not only organizes your workshop but also elevates your woodworking skills. Whether you’re a seasoned craftsman or just starting your DIY journey, building your own tool cabinet is a fantastic way to customize your space and create a functional masterpiece. We will guide you through the essential steps, providing detailed explanations and practical tips that make this seemingly daunting project accessible and enjoyable. It’s worth reading because it breaks down the process into manageable chunks, answers common questions, and offers valuable insights from design to assembly, making it the ultimate guide for anyone looking to build a tool cabinet they can be proud of.
Choosing between a DIY tool storage cabinet and a pre-fabricated one is a crucial first step. While pre-fab options offer convenience, building your own cabinet unlocks a world of customization and satisfaction. A DIY approach allows you to tailor the cabinet to your specific needs, maximizing space utilization and accommodating your unique tool storage requirements. You get to choose the materials, dimensions, and features, ensuring the final product perfectly fits your workshop and workflow.
Furthermore, building a tool storage cabinet is a rewarding experience that hones your woodworking skills. It’s a chance to learn new techniques, experiment with different designs, and create something truly unique. While pre-fab cabinets might save you some initial time, a DIY tool cabinet is an investment in your skills and a testament to your craftsmanship. Plus, the pride of using a cabinet you built yourself is simply unmatched. Imagine the satisfaction every time you reach for a tool from a cabinet you meticulously crafted. This is a good place to store all necessary tools.
Before you embark on your tool cabinet journey, gathering the right tools and materials is paramount. For cutting the plywood and other wood components, a table saw is ideal for precise, straight cuts. A circular saw can also be used, especially for breaking down larger sheets. A miter saw will be handy for angled cuts, and a jig saw can handle curved cuts. For joinery, you’ll need a drill and various drill bits, including those for pocket hole joinery, a popular method for cabinet construction. A pocket hole jig will be invaluable in creating strong, hidden joints. Other essential tools include measuring tapes, clamps, squares, a level, and safety glasses.
| Tool | Purpose |
|---|---|
| Table Saw | Making precise, straight cuts in plywood and other wood components. |
| Circular Saw | Breaking down large sheets of plywood and making straight cuts when a table saw is unavailable. |
| Miter Saw | Making angled cuts for mitered joints and other angled components. |
| Jig Saw | Cutting curves and irregular shapes in wood. |
| Drill and Drill Bits | Drilling holes for screws, dowels, and other fasteners, including pocket holes. |
| Pocket Hole Jig | Creating angled pocket holes for strong, hidden joints. |
| Measuring Tapes | Accurately measuring dimensions of wood pieces and ensuring proper alignment. |
| Clamps | Holding pieces of wood together securely while glue dries or during assembly. |
| Squares | Ensuring corners are at perfect 90-degree angles and checking for squareness during construction. |
| Level | Verifying that surfaces are level and horizontal, especially important for drawer slides and cabinet installation. |
| Safety Glasses | Protecting eyes from flying debris and dust during cutting and assembly. |
As for materials, plywood is a common choice for the cabinet carcass and drawer boxes due to its stability and affordability. Hardwood or solid wood can be used for drawer fronts and trim for a more refined look. You’ll also need wood glue for strong bonds, wood screws for assembly, and drawer slides for smooth drawer operation. Consider finishing materials like paint, stain, or polyurethane to protect and enhance the appearance of your cabinet. This is not diy tool storage, but a project for more advanced woodworkers.
Designing the layout of your tool cabinet is where your creativity shines. Start by assessing your tool collection and how you use them. Consider which tools you use most frequently and ensure they are within easy reach. Think about the size and shape of your tools and how they can be best stored. Drawers are excellent for smaller tools, while larger tools might need dedicated compartments or shelves. To organize things in a better way, you should organize your tools.
Dividers within drawers are a game-changer for organization. They prevent tools from shifting and getting jumbled together. You can create custom dividers using thin strips of plywood or purchase pre-made ones. Consider incorporating specialized storage solutions like a built-in charging station for cordless tools or a pull-out tray for frequently used items. Remember to take the time to make it user friendly. Maybe you will find some inspiration in garage journal. If you like to build things by yourself you should find that process fun and satisfactory.
With your design finalized, it’s time to start building! Begin by breaking down the plywood sheets into the necessary components for the cabinet frame. Use your table saw or circular saw to make precise cuts, ensuring each piece is square and to the correct dimensions. Labeling each piece as you cut will save you headaches during assembly.
The frame of the cabinet is typically constructed using dado and rabbet joinery or pocket hole joinery. Dadoes are grooves cut into the wood to accept another piece, while rabbets are recesses cut along the edge. These joints provide strength and stability. Pocket hole joinery involves drilling angled holes and using special screws to create a strong, hidden joint. Choose the method that best suits your skill level and tools. Using wood glue on all joints adds extra strength. Start started by cutting the top and bottom pieces, and then moving to sides.
Drawer construction is a crucial aspect of building a tool cabinet. There are several methods for building drawers, but a common and reliable approach is to use plywood for the drawer box and hardwood for the drawer fronts. The drawer box can be assembled using butt joints reinforced with screws or using more advanced joinery like rabbets or dovetails. If you have a tool box you can start by measuring all the dimensions from there.
| Drawer Part | Material Recommendation | Purpose |
|---|---|---|
| Drawer Box Sides | Plywood | Form the sides of the drawer, providing structure and containment. |
| Drawer Box Front/Back | Plywood | Create the front and back panels of the drawer box. |
| Drawer Bottom | Plywood | Provides the base of the drawer, supporting the contents placed inside. |
| Drawer Fronts | Hardwood/Solid Wood | The visible front panel of the drawer, often chosen for aesthetic appeal. |
Remember to leave appropriate clearances for the drawer slides. The bottom of the drawer is typically made from thinner plywood and can be inserted into a groove in the drawer sides or attached to the bottom edges. To save time, you can miter saw to cut the drawer parts. Ensure the drawer box is square and that the drawer bottom fits snugly. You can attach the drawer sides using screws. Drawer fronts should be added at the end.
Drawer slides are the unsung heroes of a well-functioning tool cabinet. They dictate how smoothly your drawers open and close. There are various types of drawer slides, including side-mount, under-mount, and center-mount slides. Side-mount slides are the most common and are relatively easy to install. Under-mount slides are hidden from view and offer a cleaner look, while center-mount slides are typically used for lighter-duty applications. You should buy drawer slides that are resistant to corrosion.
Installing drawer slides requires precision. Ensure the slides are level and parallel to each other. Follow the manufacturer’s instructions carefully, as the installation process can vary depending on the type of slide. Most slides come with templates to help with positioning. Test the drawer operation after installation and make adjustments as needed. You can use them in the tool storage cabinet or even wall cabinet – it depends on your needs. You can use screws from the inside to attach them.
With the cabinet frame and drawers assembled, it’s time to add the finishing touches. Drawer fronts are attached to the drawer boxes, creating the visible face of the drawer. You can choose from various styles, from simple flat panels to more elaborate raised-panel designs. It is important to make edges of the top part of the cabinet rounded and safe.
Attaching drawer fronts requires careful alignment. Use spacers or clamps to ensure even gaps between the drawer fronts. You can attach them from the inside of the drawer box using screws or use specialized drawer front attachment hardware. Handles or knobs are then added to the drawer fronts for easy opening. Choose hardware that complements the style of your cabinet and is comfortable to use. You can also put some nice saw blade on the front of your cabinet to make it look better.
The choice between a wall cabinet and a rolling tool storage cabinet depends on your workshop space and how you work. A wall cabinet is a great option for smaller workshops as it utilizes vertical space and keeps your floor area clear. It’s also ideal if you prefer a fixed work area. If you have two power tools you will probably need two cabinets.
A rolling tool storage cabinet, on the other hand, offers mobility. You can move it around your workshop as needed, bringing your tools closer to your project. This is particularly useful in larger workshops or if you frequently work in different areas. Rolling cabinets also typically offer more storage capacity. Consider your workflow and space constraints when making your decision. Each cabinet using a lot of space so consider which option is best for you.
Assembling the cabinet is where all your hard work comes together. Before you begin, ensure you have all the necessary hardware, including screws, hinges (if applicable), and any specialized hardware for your chosen features. It’s also a good idea to have a helper on hand, especially for larger cabinets. You need to connect the two parts of the cabinet and you may need someone’s help.
Start by attaching the sides of the cabinet to the top and bottom pieces. Use clamps to hold the pieces together while you drive in the screws. If you’re using pocket hole joinery, ensure the pocket holes are facing the inside of the cabinet where they won’t be visible. For dado and rabbet joinery, apply wood glue to the joints before assembling. Then you need to drill one hole for each screw. Plans available online can help you with that process.
Once the basic cabinet is assembled, you can add custom features to make it truly your own. Consider adding a workbench top to create a dedicated workspace. You can incorporate a built-in vise, dog holes for clamping, or a T-track system for added versatility. The area inside the cabinet can be used for a lot of things.
Other customization options include adding a back panel made from pegboard for hanging tools, installing LED lighting inside the cabinet for better visibility, or building specialized storage compartments for specific tools. You could even incorporate a CNC router into your design for creating intricate inlays or custom tool holders. There is also an option to cut a piece of sheet metal and mount it on the side of the cabinet. Remember, the beauty of a DIY project is that the possibilities are endless. Let your imagination run wild and create a tool cabinet that is both functional and a reflection of your unique style. There are some diy tool that can help you with finishing.
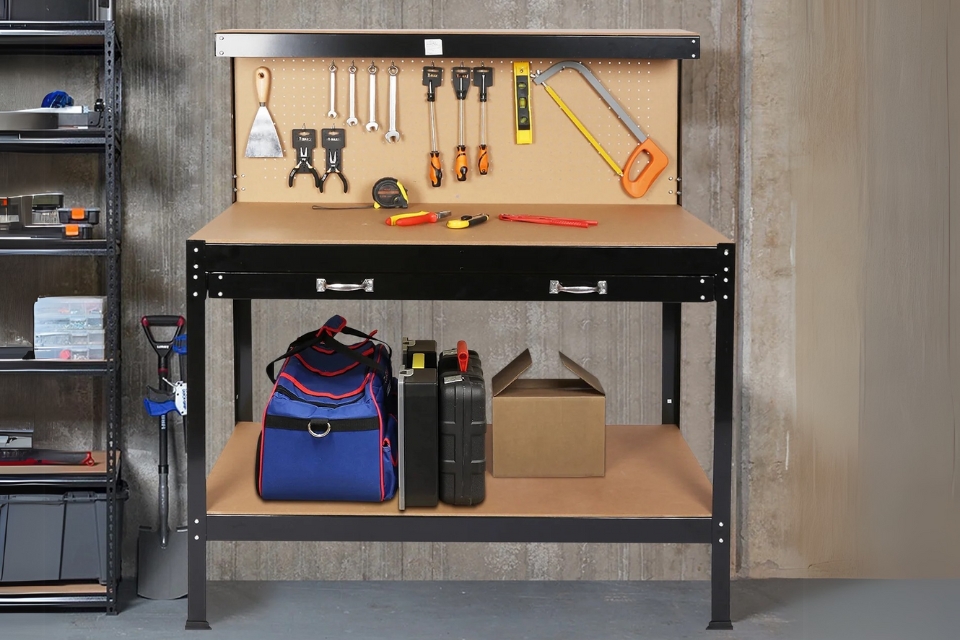
This article delves into the differences between workbenches and workstations, focusing on their applications within various industrial settings.
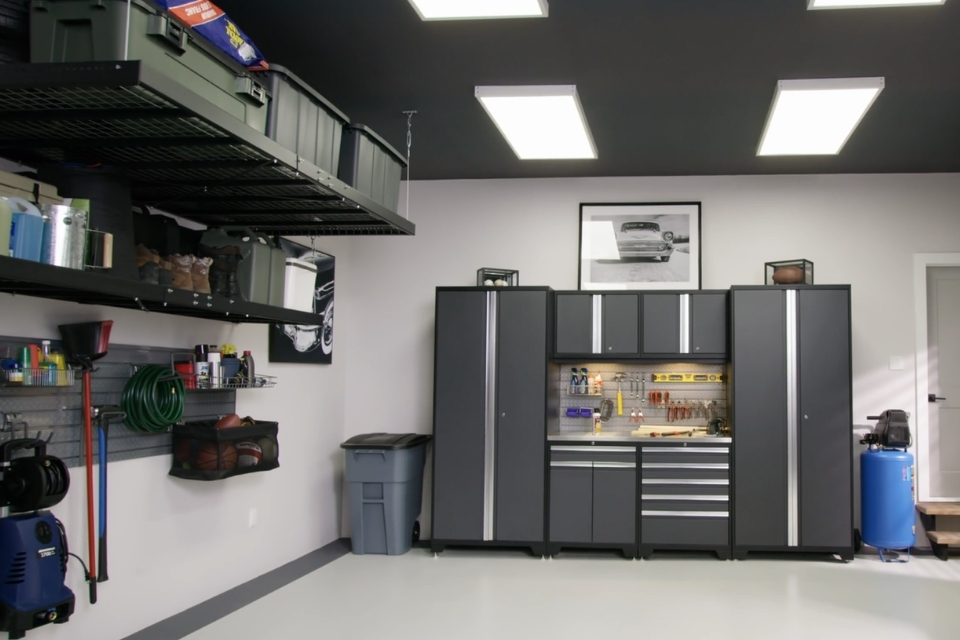
This article delves into the crucial question of whether garage cabinets need backs, exploring the structural and functional implications of this design choice.
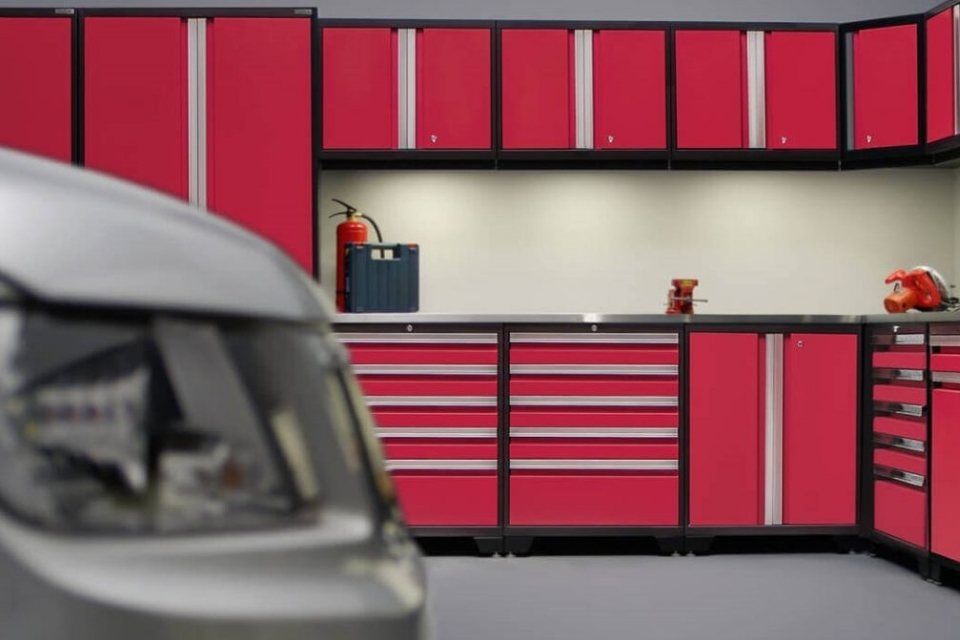
This article provides a comprehensive guide to designing an effective garage storage system, offering practical tips and innovative garage storage ideas to transform your cluttered garage into an organized and functional space.
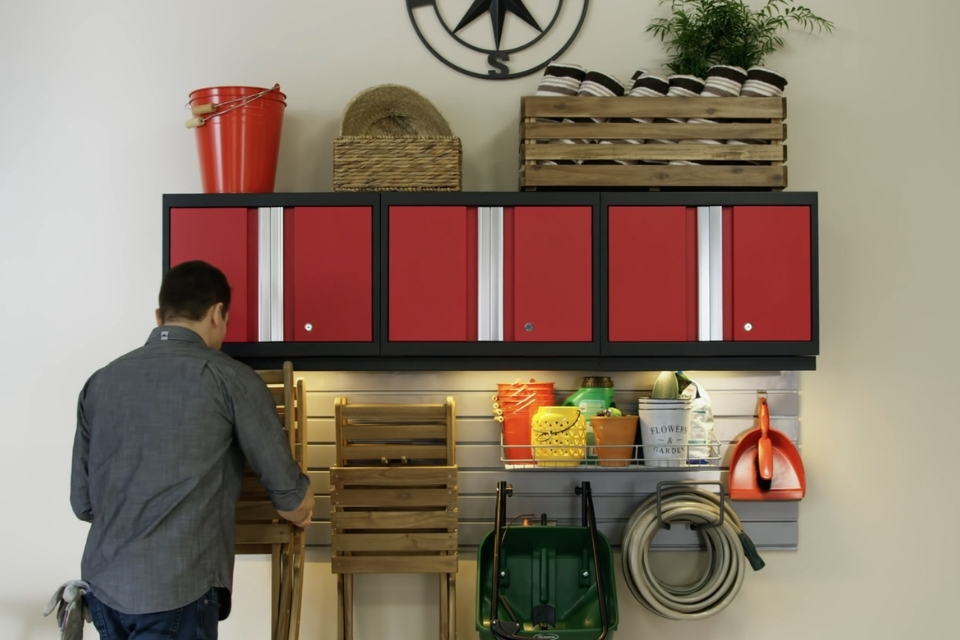
This article offers a comprehensive guide to tool box organization, providing practical tips and innovative organization ideas to help you arrange your tools efficiently.
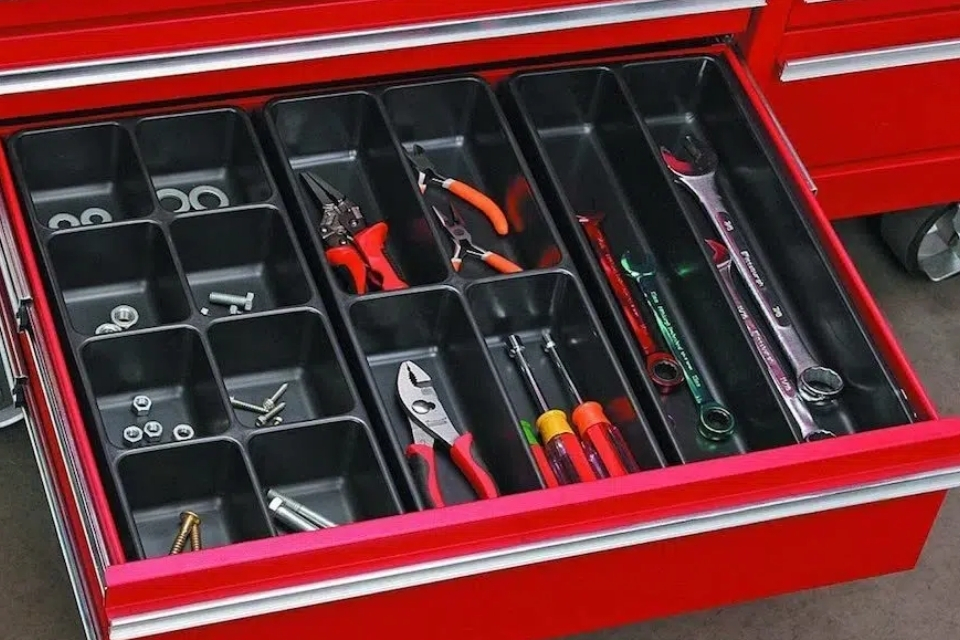
This article provides a comprehensive, step-by-step guide to installing a truck tool box, ensuring your tools are securely stored and easily accessible.
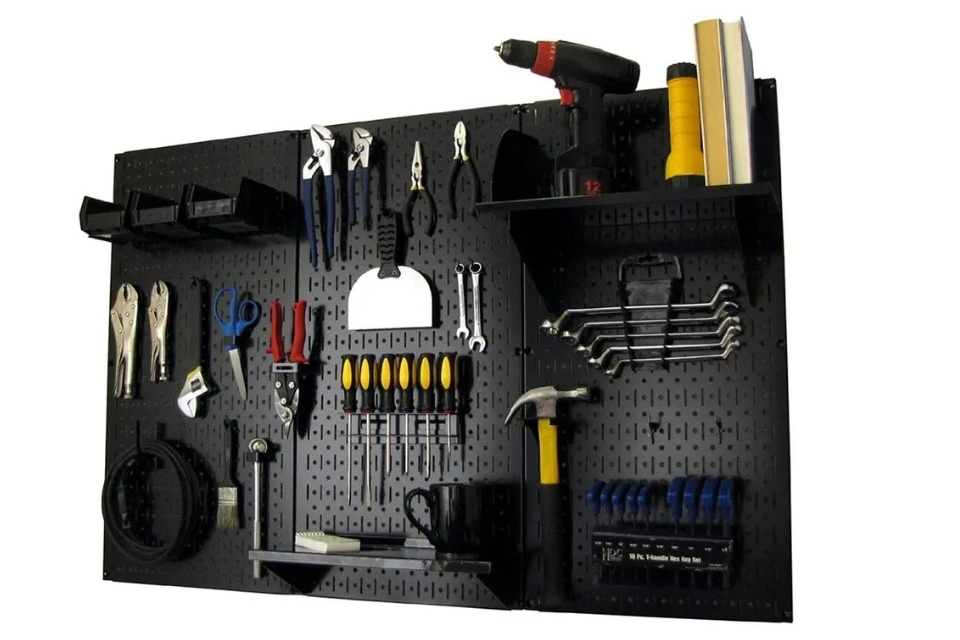
This article explores the best options for sheeting garage walls, providing valuable insights into materials that enhance both functionality and aesthetics.
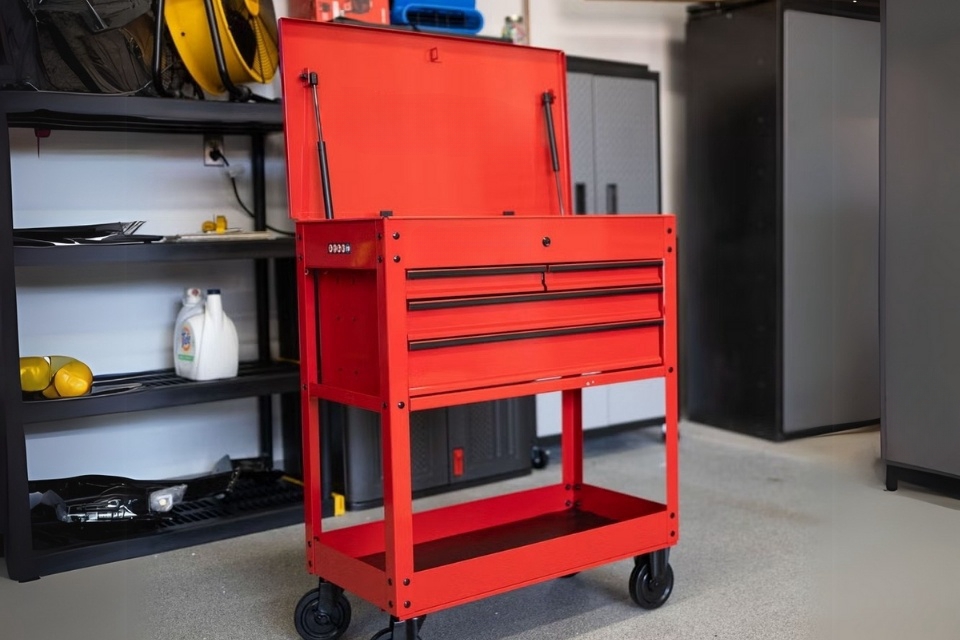
This article delves into the world of tool box chests on wheels, also known as rolling tool cabinets or rolling tool chests, highlighting their benefits as the perfect mobile storage solution for various settings.
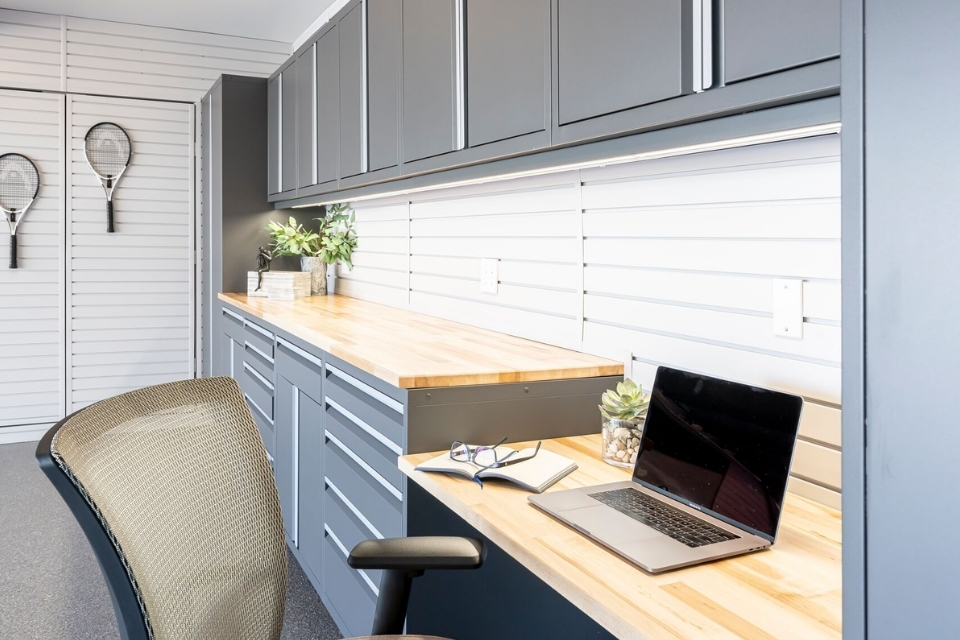
This article provides a comprehensive step-by-step guide on how to securely install garage cabinets to the wall, ensuring a safe and functional storage system.

We are the leading factory for tool cabinets product in China with fast delivery, free custom services and fantastic services.
@ 2024 The Tool Cabinets. All right reserved.
Fill out the form below, and we will be in touch shortly.